Base Coating Miniatures: Pro Tips from a 35+ Year Veteran Painter
If you’ve been following my articles, we’ve already covered two essential steps in miniature painting: preparing your miniature for painting and priming your miniature. With those basics in place, we’re now ready to dive into base coating miniatures, one of the most critical stages in bringing your miniatures to life.
With over 35 years of experience painting miniatures, I’ve learned that getting the base coat right is crucial for a smooth, vibrant, and detailed finish. Whether you’re a beginner or have been at it for a while, these tips will help you achieve a professional base coating that sets the foundation for the rest of your paintwork.
And if painting miniatures sounds like too much effort or you don’t have the time, don’t worry! You can always check out the professionally painted, unique miniatures over at https://dressart3d.com, perfect for your tabletop games or collections.

Base Coating Miniatures – Blog Article @ dressart3d.com
—————————————————————————————————————————-
What is the Objective of Base Coating Miniatures?
Base coating miniatures sets the foundation for your miniature’s final look. The main goals of this phase are:
- Laying Down the Base Colors: This is where you apply the core colors that define your miniature’s appearance.
- Smooth, Thin Coats: Thin layers are key to ensuring the miniature’s details stay visible and the final product looks clean.
- Color Harmony: This step gives you a feel for how the colors will work together, helping to bring your vision to life.
With that in mind, let’s break down the process!
—————————————————————————————————————————-
Step 1: Choose the Right Brushes for Base Coating Miniatures
When it comes to base coating miniatures, using the right brushes is essential. Good-quality brushes allow you to apply smooth, even coats and help you maintain control over your paint.
Brush Size Matters for Base Coating Miniatures
For base coating miniatures, I recommend having a range of brushes:
– Size 0: Great for small details and tight spaces.
– Size 1 or 2: Ideal for general painting.
– Size 3 or 4: Use these for larger areas like cloaks or armor.
Quality Counts in Base Coating Miniatures
A quality brush makes all the difference. Look for brushes that hold their shape, as they allow you to paint sharp lines and prevent unwanted smudging. I personally prefer sable or synthetic brushes—they last longer and maintain a fine point.
Keep Brushes Clean for Best Results in Base Coating Miniatures
One of the most overlooked aspects of base coating miniatures is brush maintenance. Dirty or damaged brushes will quickly ruin your paint job. After years of painting, I’ve learned that regularly cleaning your brushes and storing them properly makes them last much longer. Don’t forget—clean brushes mean smoother, more accurate paint application.
—————————————————————————————————————————-
Step 2: Thin Your Paints for Smooth Base Coating Miniatures
One of the most common mistakes beginners make in base coating miniatures is using paint straight from the bottle. Thinning your paints is essential for achieving a smooth, even coat that doesn’t obscure the fine details of your miniature.
How to Thin Paints for Base Coating Miniatures
For acrylic paints, I recommend thinning them with a bit of water or a paint thinner. The goal is to achieve a consistency like milk. When you apply thinned paint, you may need to do multiple layers to get full coverage, but trust me—it’s worth it for the clean, professional result. This is especially true for light colors like reds, oranges, and yellows, especially if you’ve primed your miniature with black.
Be Patient When Base Coating Miniatures
Don’t rush the process. Let each layer dry before applying the next. If you’re in a hurry, here’s a pro tip: Use a hair dryer to speed up drying between layers. (But be careful—use only a hair dryer, not a heat gun, as too much heat can warp or melt plastic miniatures.)
Personal Experience:
When I first started base coating miniatures, I’d try to cover the base in one thick coat, only to end up with clumpy paint that hid all the beautiful details I worked so hard to clean and prime. Now, I take my time, applying multiple thin layers, and the results are much better.
—————————————————————————————————————————-
Step 3: Use a Wet Palette for Consistent Base Coating Miniatures
A wet palette is a great tool that helps keep your paints from drying out too quickly, ensuring that the paint stays the right consistency throughout your base coating miniatures.
How to Make a Wet Palette for Base Coating Miniatures
You can easily make a wet palette at home! All you need is:
- A shallow container with a lid.
- A piece of sponge or paper towel soaked with water.
- A piece of **parchment paper** on top of the sponge.
This keeps your paints fresh and prevents them from drying out, allowing you to paint at your own pace.
Personal Experience:
I got used to mixing paint on my thumb (yes, my thumb!) and adding the water as I painted. But I don’t recommend this unless you’ve been at it for years. The wet palette is a far better solution for consistent **base coating miniatures** and keeping your colors smooth.
—————————————————————————————————————————-
Step 4: Lighting is Critical for Base Coating Miniatures
Good lighting is often overlooked, but it’s critical for base coating miniatures. Proper lighting allows you to see the details clearly and apply paint accurately.
Best Lighting for Base Coating Miniatures
I recommend using a daylight lamp or a bright LED light with a cool temperature (around 5000-6500K). This helps you see the true colors of your paints and ensures you don’t miss any spots on your miniature.
Personal Anecdote:
Years ago, I used to paint with a regular table lamp, and I was constantly missing tiny details. Once I upgraded to a proper daylight lamp, my base coating miniatures improved almost overnight. The difference was like night and day—literally!
—————————————————————————————————————————-
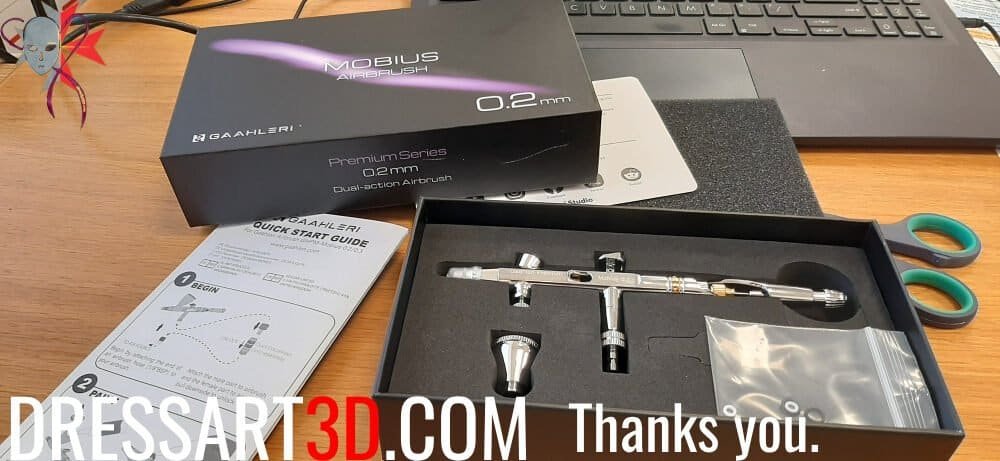
Step 5: Use an Airbrush for Base Coating Miniatures with Large Areas
If you’re working on a miniature with large surfaces and can afford it, an airbrush is a fantastic tool for base coating miniatures. It allows you to cover large areas quickly and evenly, without worrying about brush strokes or uneven coverage.
Airbrush vs. Hand-Painting for Base Coating Miniatures
While you can use acrylic paints with an airbrush, I recommend using airbrush-specific paints to minimize clogging and cleaning problems while getting the smoothest results. Cleaning the airbrush regularly also helps avoid hassles.
Personal Recommendation:
I use an airbrush for base coating miniatures that have larger models or when I need to apply smooth gradients. It’s much faster and produces a flawless finish, especially for vehicles or monsters in tabletop games.
—————————————————————————————————————————-
Step 6: Enjoy the Process of Base Coating Miniatures
Miniature painting is a creative hobby, so it’s important to enjoy the process. If you’re not in the mood to paint, don’t force it—this is meant to be fun, not a chore.
Take Breaks When Base Coating Miniatures
If you’re getting tired or frustrated, take a break. The base coating process can take time, especially if you want smooth, even results. It’s better to stop and continue later than to rush and ruin the model.
—————————————————————————————————————————-
Final Thoughts: Mastering the Art of Base Coating Miniatures
Base coating miniatures is all about patience and precision. By choosing the right brushes, thinning your paints, and using a wet palette, you’ll lay a solid foundation for the rest of your painting. It may take some time, but getting the base coat right will make the entire miniature look better in the end.
And remember, if you’d rather focus on playing instead of painting, https://dressart3d.com offers stunning, professionally painted miniatures that are ready for your gaming table or display shelf.
—————————————————————————————————————————-
Happy Painting!
Base coating miniaturesis an essential part of the painting process that sets the stage for the magic to come. With these tips, you’ll be well on your way to achieving a smooth, professional-looking finish that makes your miniatures pop.
Thanks for reading, and happy painting! If you have any questions or want more tips, feel free to reach out. And for those of you short on time or looking for unique, pre-painted miniatures, don’t forget to check out https://dressart3d.com for the best in ready-to-play miniatures!
Thanks with a Gift!
Thanks for sticking with this long read. If you managed to arrive to this point I sincerely think that you found this reading an interesting one and I really appreciate it. As a small token for your interest, may I remind you that if you simply create an account with our online show you will be instantly given a one time, no expiry 10% Discount Coupon. You will be able to find it in the coupon section of the My Account Section in the links section above.
Thanks for appreciating our Art!












0 Comments